Cart 0


Embarking on the journey of establishing your online store is an exciting venture, and Shopify is a platform that makes this process seamless and efficient. In this guide, we’ll walk you through the essential steps to set up your Shopify store and lay the foundation for a successful online business.
Sign Up and Choose a Plan

The first step in your Shopify journey is to sign up for an account.
1. Register on the Shopify website to start creating your store. To do so, go to the official Shopify website and click on the Start free trial button (trial period is valid for 3 days). No bank card or any other payment information is required for registration.
2. Then you need to fill in the required details and follow the on-screen instructions. You can skip most of the questions, including – choosing the name of your future store, which you can add later. Once you have filled in all the required data, click Enter my store.
3. Then you will be taken to the admin panel of your store.
Customize Your Store
Shopify provides a user-friendly interface that allows you to customize your store without any coding knowledge. Start by selecting a theme that aligns with your brand identity.
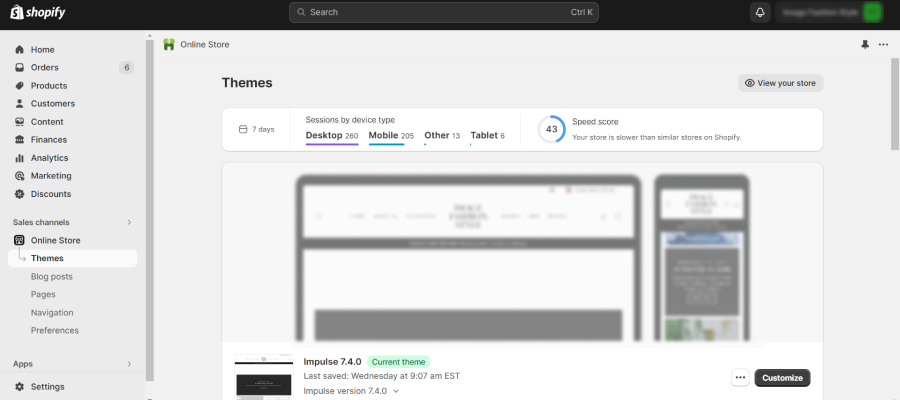
1. After logging into your account, go to the Design (Online Store) section on the left side of the admin panel menu.
2. In the Online Store section, select Themes. Here you will see the currently installed theme and a list of downloaded themes that can be installed.
Note: The free Dawn theme will be installed by default. You can also download another theme from the store by clicking Add theme.
3. Select the theme you want to customize by clicking Customize.
4. If you need to customize your current theme, it’s best to make a copy of it, make changes, and then publish it afterward. This way you can see a preview of the changes without publishing them to the extension. To publish any topic, you must click Publish.
Edit Theme
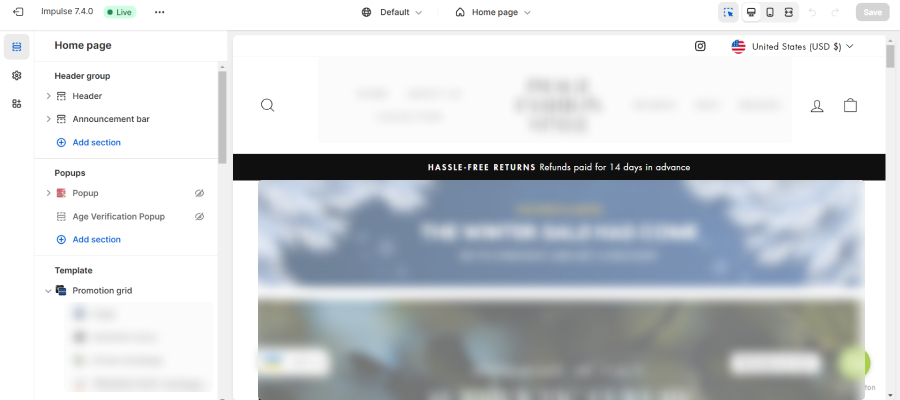
1. By default, opening the theme editor will take you to the homepage editor. Each page consists of sections that can be rearranged, added, deleted, or temporarily hidden from the page.
2. In the theme editor, you can switch between the pages you want to customize by selecting Home page, Products, Collections, Pages, Blogs, etc. But first of all, you need to customize the home page.
3. The page structure consists of a Header (where the site menu and logo are located), a number of different blocks, and a Footer (where various legal information and contacts will be located).
4. Customize the existing blocks depending on the specifics of your store and products. You can add/remove/move blocks with slides, banners, narrow bars under the header, and other blocks manually.
5. For detailed theme settings, you need to find the Theme settings button in the editor in the lower left corner. Here you can add brand colors in the Colors menu, fonts in Typography, Favicon for browser, and Checkout page. Click Save to save all changes.
Preview and publish the changes
1. Periodically use the Preview button in customization mode to see how the changes will look on your store. Save the changes if they meet your requirements.
2. There is also an option to share a link to the preview. To do this, you need to click Share Preview in the page preview window.
3. When you are sure that you have made all the changes correctly, click Save.
If you are going to publish the changes you made “on an extension”, you need to click Publish in the editor window or in the theme list window.
Add Your Products
Now it’s time to showcase your products.
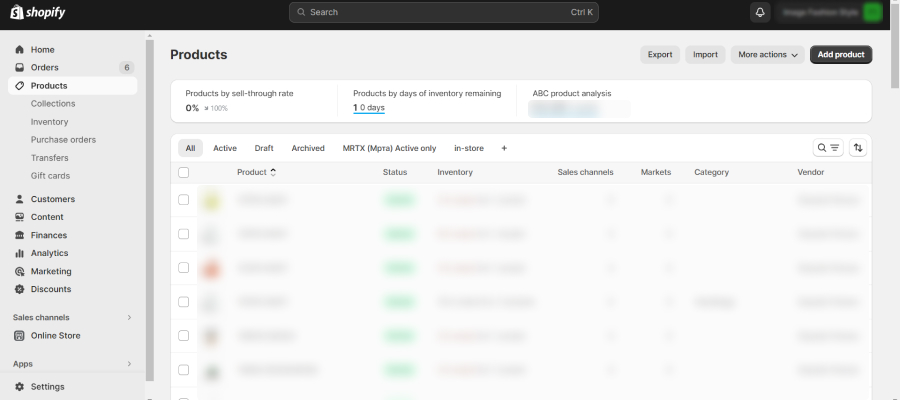
1. To display the items in collections on the page, you need to add them there. To do this, go to the admin panel of the store and find the Products – All Products section.
2. Click Add Product to go to the Add Products window.
3. Here we can add the first product.
a) Add product name, description, and photos.
b) Set prices for the product. To add a crossed-out price (discount) next to the current price, enter this value in Compare at price (it should be higher than the current price).
c) If needed, you can set a unit price so the customer understands how much they will make on this product.
d) Then enter the SKU of the item (code for tracking stock balances) and the quantity of the item available for sale.
e) If the product has color, and size options, check the box below under Options. Enter the available options for your product.
f) In the Collections section on the right, select which collection the product belongs to.
g) To make the product available in the store, scroll up and change the product status from Draft to Active. Click Save.
Set Up Payment and Shipping
Shopify makes it easy to handle transactions by integrating with various payment gateways.
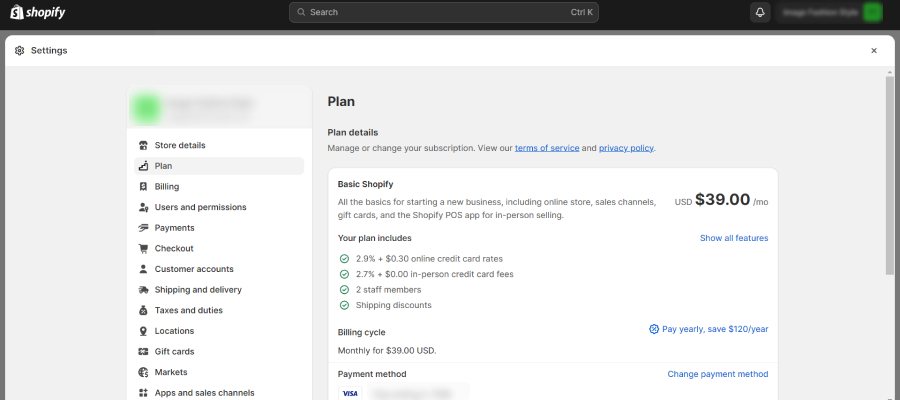
1. Go to the Payments menu on the left side of this window.
2. You can choose the simplest payment provider Shopify Payments and then people can pay with Visa, Mastercard, Amex credit cards, Apple Pay, Google Pay, etc.
3. There is also an option to add a PayPal payment system. To disable it, click Deactivate PayPal Express Checkout.
4. You can also choose alternative payment methods, such as Stripe, by clicking Choose Alternative Payment.
Configure Taxes
Ensure that your store complies with tax regulations by configuring your tax settings. Shopify can automatically calculate taxes based on your location, or you can set up custom tax rates depending on your products and customer locations. Accurate tax calculations contribute to a seamless checkout experience.
Set Up Your Domain
Choose a memorable and brand-appropriate domain name for your store. If you don’t have a domain yet, Shopify allows you to purchase one directly through the platform. Having a custom domain enhances your professionalism and brand credibility.
Conclusion
Congratulations! You’ve successfully set up your Shopify store and are now ready to embark on your e-commerce journey. Remember that ongoing optimization and attention to customer feedback are key to sustained success. Contact us at Grrrow.me for more instructions and assistance, stay informed about e-commerce trends, and continually refine your store to meet the evolving needs of your customers. Best of luck with your online business!